Name: Creating and Managing Invoices on the Agency’s Payment section at Office Puzzle
Description: How to create an invoice on the Agency’s Payment section.
Difficulty: Middle
Duration: Less than 10 minutes
Invoices
Summary:
Step 1- From the Agency Dashboard, access Payments shortcut.
Step 2- Click on Invoices.
Step 3- Click on +New invoice.
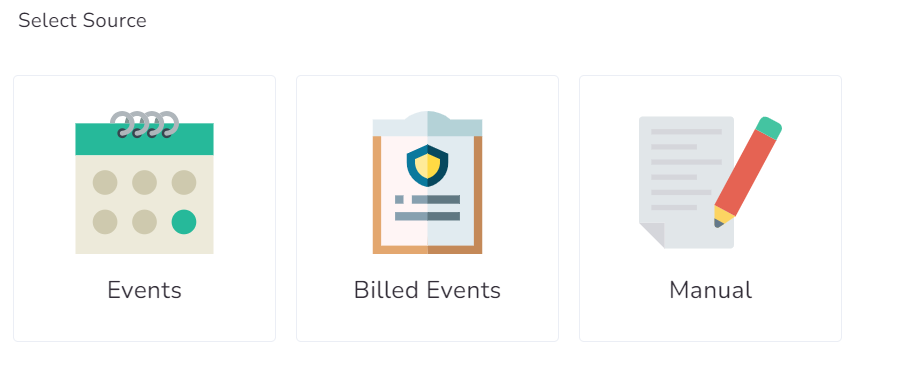
Step 4- Select Source: Events, Billed Events or Manual.
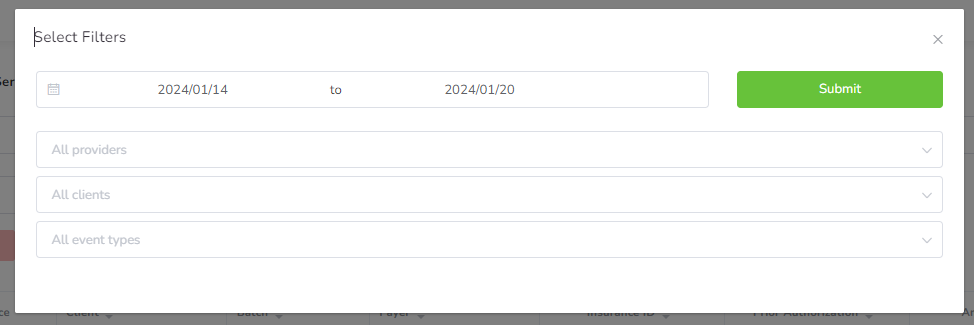
Step 5- If selected Events/Billed events, then choose the Range of dates and click on Submit. Also, there are Optional filters: Providers, Clients and Event types.
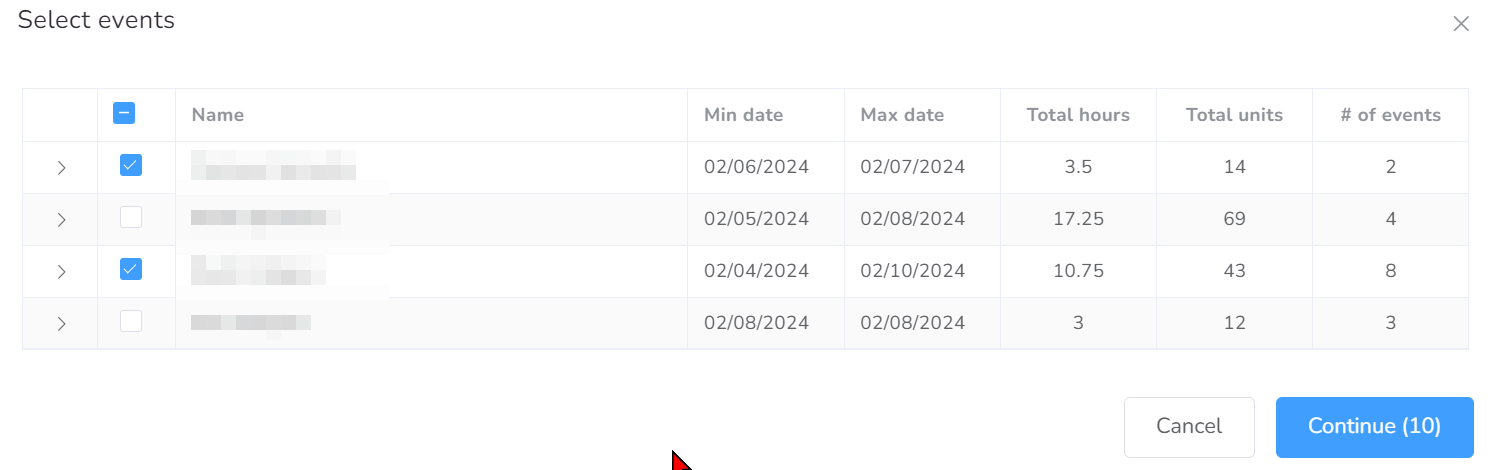
Step 6- Select the events to be included and hit Continue. (There you can check if there are any error on the events)
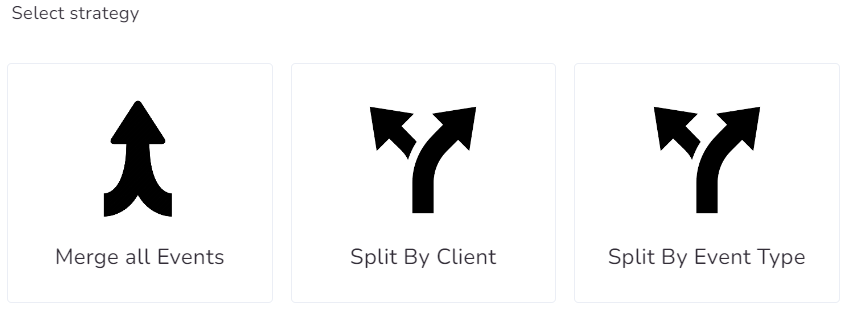
Step 7- Select Strategy: Merge all Events, Split by Provider or Split by Event Type.
Step 8- Select the Invoices to be created.
Step 9- Click on Create.
Create Invoices on the Agency’s Payments section
Invoices
Step 1: Navigate to the Agency Dashboard and access the Payments shortcut.

Step 2: Click on the “Invoices” box.
Step 3: Initiate a new invoice by clicking on “+New Invoice.”

Step 4: Choose the source of the invoice: Events, Billed Events, or Manual.
Step 5: If Events/Billed Events is selected, specify the date range and click “Submit.” Optional filters such as Providers, Clients, and Event types can be applied.
Step 6: Select the events to be included in the invoice and proceed by clicking “Continue.” This step also allows you to check for any errors in the selected events.
Step 7: Opt for a strategy to organize the invoice: Merge all Events, Split by Provider, or Split by Event Type.
Step 8: Choose the specific invoices you want to create.
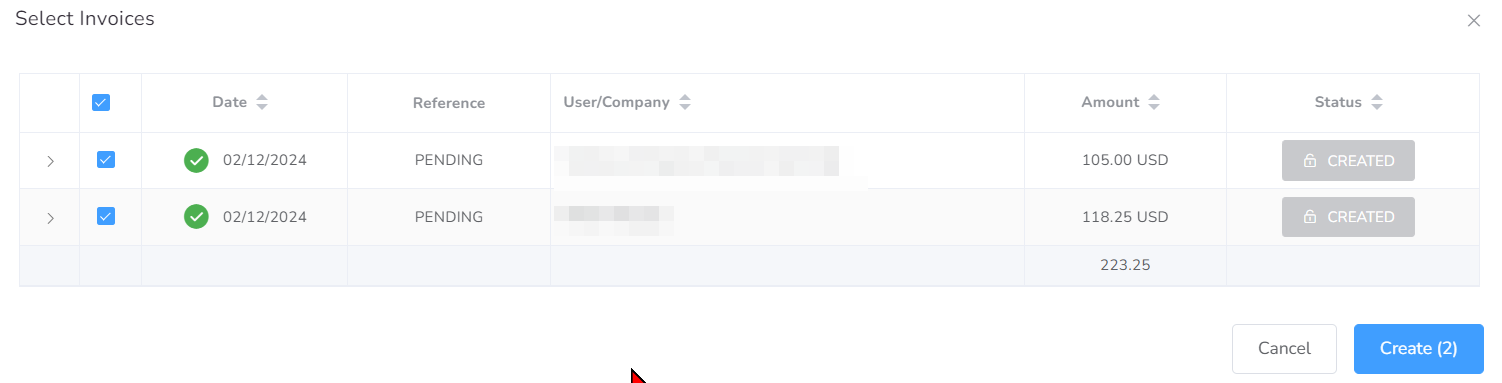
Step 9: Finalize the process by clicking “Create.”
![]()